-
개요
DB는 postgresql을 사용할 것이다. postgresql은 관계형 DB로 SQL 쿼리를 사용한다.
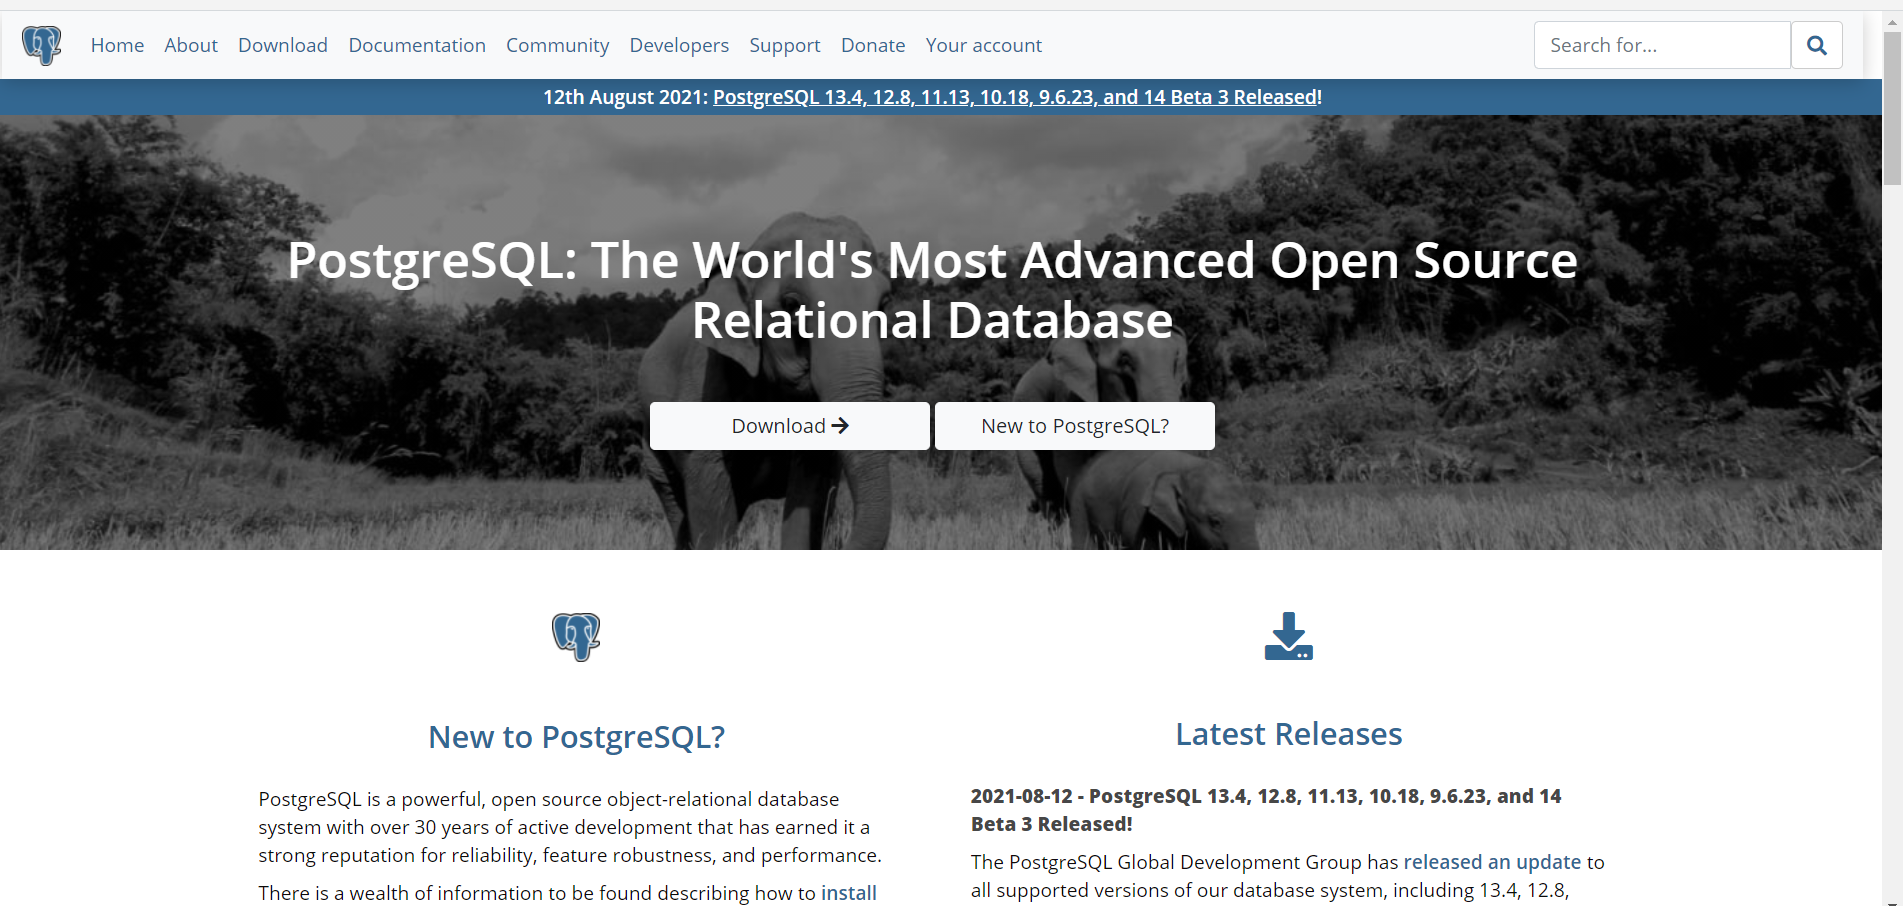
Postgresql download
https://www.postgresql.org/ 여기서 postgresql을 다운받는다.
PG admin download
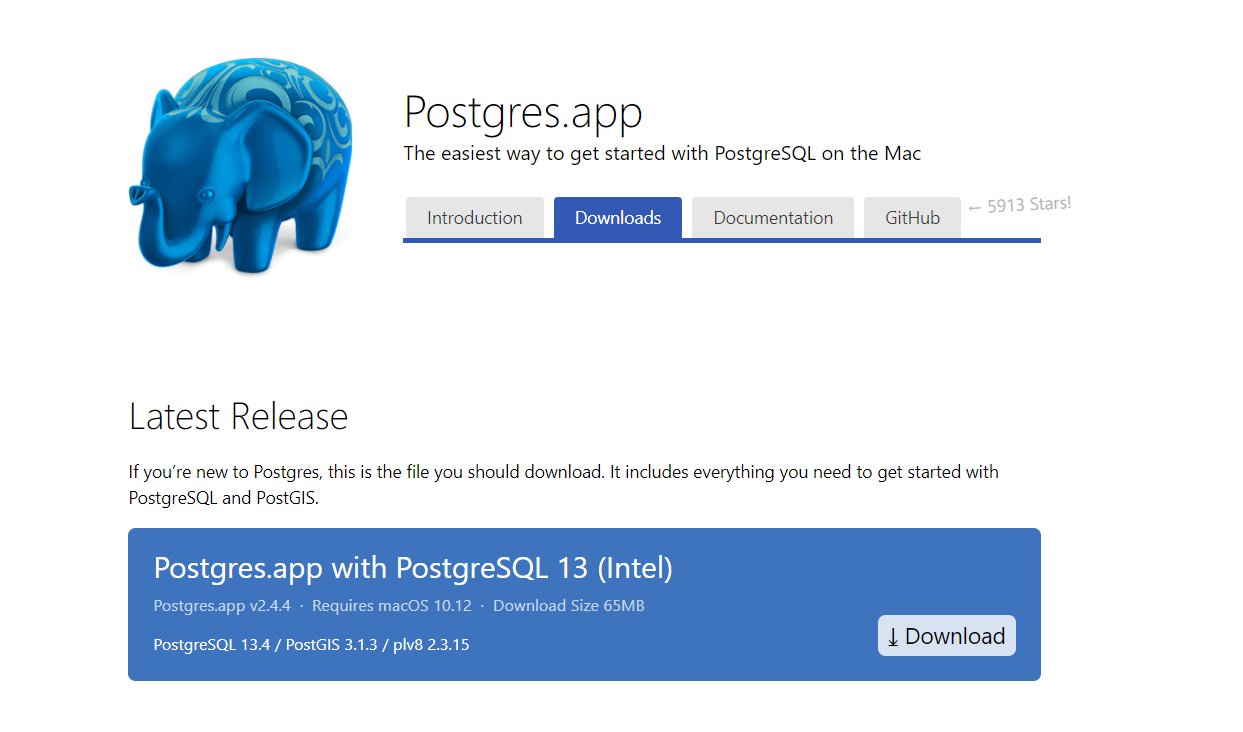
pg admin은 postgresql을 UI로 조작할 수 있는 Window Admin panel이다.
postgresql에서 계정 생성하기
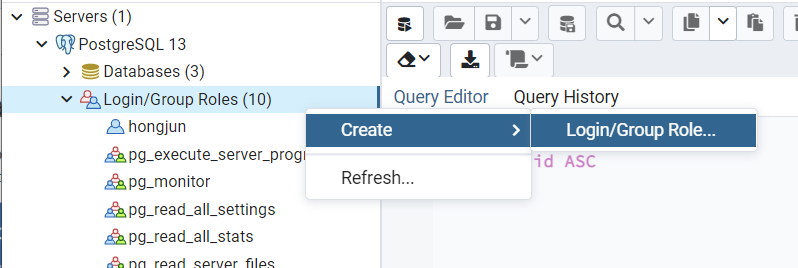
Servers => PostgreSQL 13 => Login/Group Roles => Create => Login/Group Role...을 클릭한다.
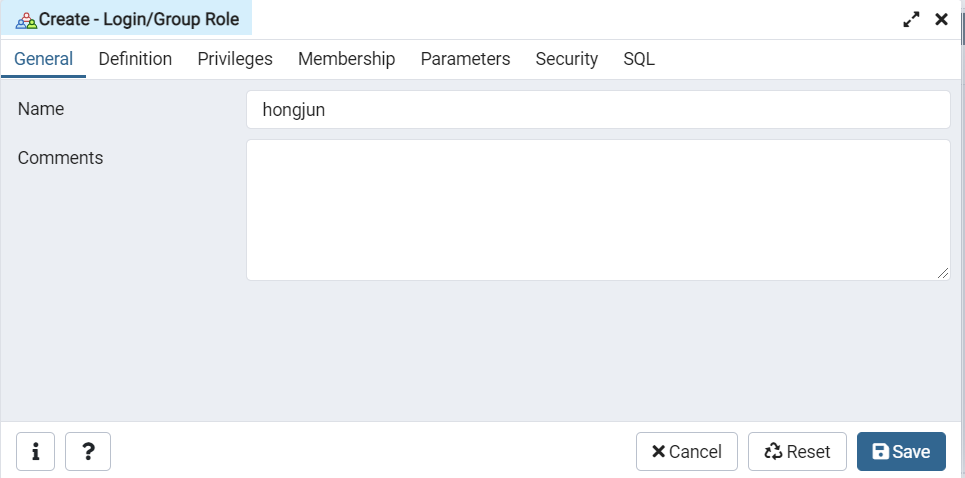
General => Name에 이름을 입력한다.
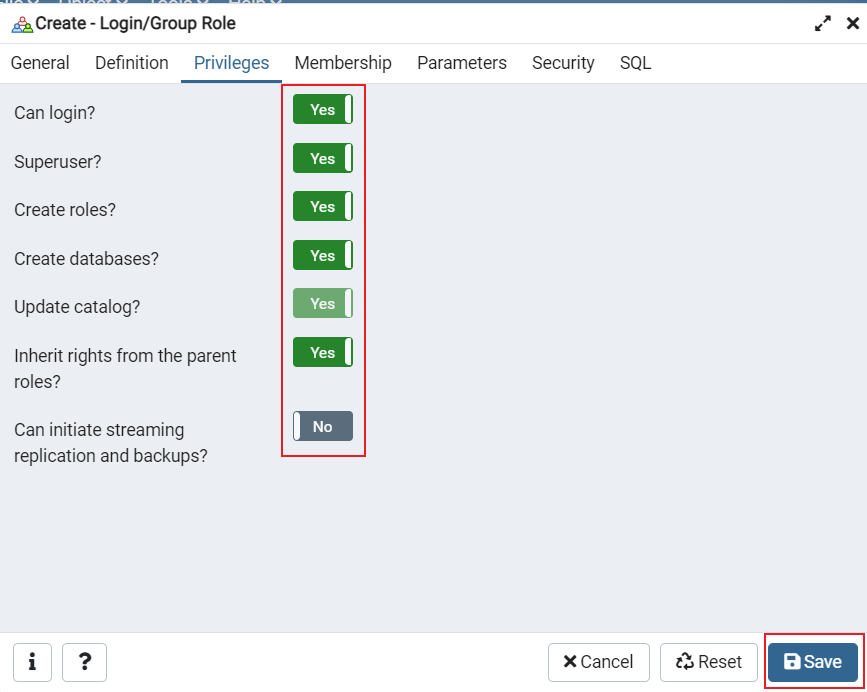
Privileges에서 원하는 권한을 선택한다. 마지막으로 Save를 선택한다.
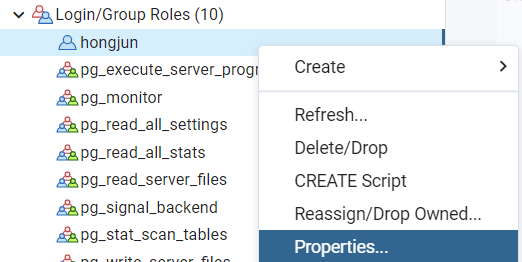
비밀번호 설정을 위해서 생성된 계정의 Properties...를 선택한다.
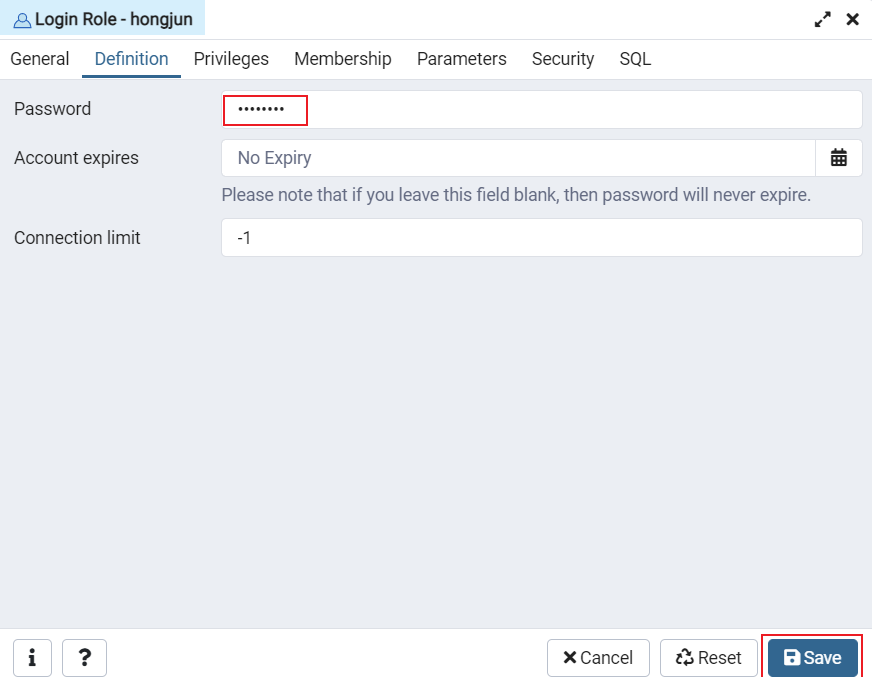
Definition에서 password를 설정해주고 저장한다.
postgresql에서 DB 생성하기
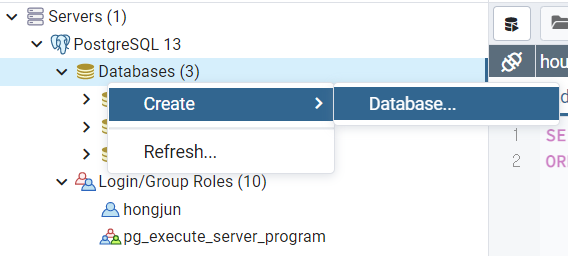
Servers => PostgreSQL 13 => Database => Create => Database...
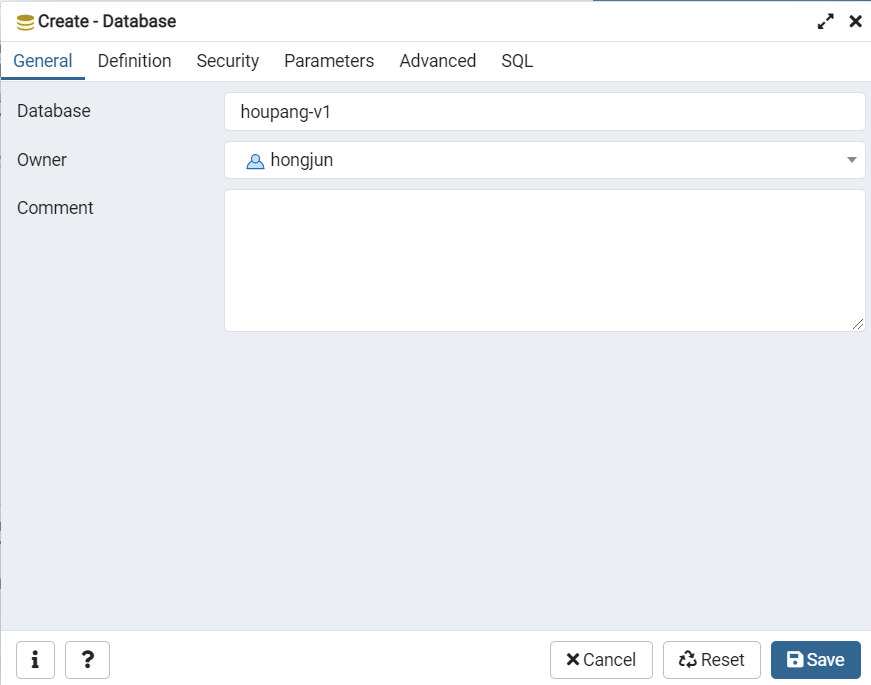
Database 이름(houpang-v1) 설정해주고 Owner도 선택한다. Owner는 직전에 생성한 계정이다. 그리고 Save를 클릭해서 DB를 생성한다.

DB(houpang-v1)가 생성되었다.
Connect db to nest.js server
이제 postgresql db를 nest.js server에 연결할 차례다.
설치
$ npm i @nestjs/typeorm pg psql typeorm
app.module.ts
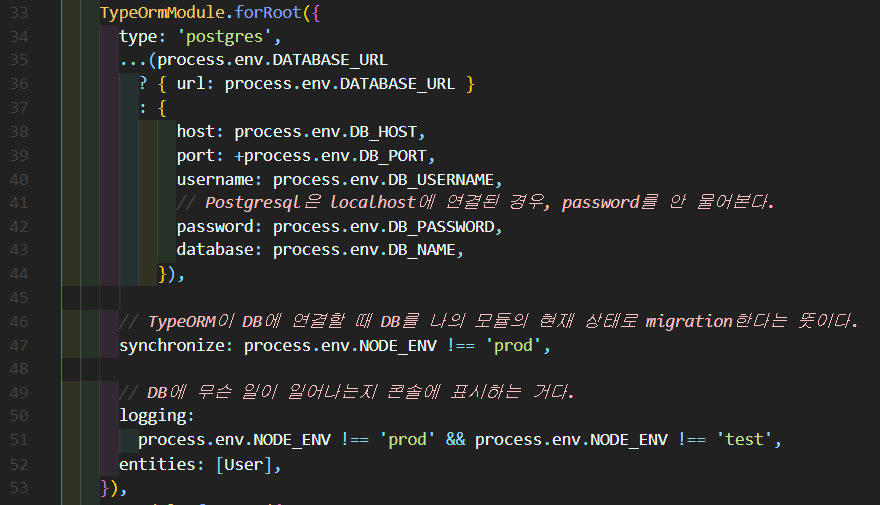
app.module.ts app.module.ts에 등록해줘야 한다. TypeOrmModule.forRoot()를 이용해서 DB를 등록해준다. DB server가 원격에 있다면 DATABASE_URL을 가질 것이고 url을 할당해주면 끝난다. 그렇지 않다면 host, port, username 등등 우리가 위에서 설정해준 값들을 입력해준다. postgresql port 번호는 5432다.
entities에 User가 있는데, 이것은 내가 일전에 만들어 놓은 entity다. entity란 data schema라고 생각하면 된다. 여기에 entity를 포함시켜야지 DB에 migration이 되고 service가 db에 접근할 수 있다.
참고 자료
- 노마드 코더의 우버 이츠 클론 강의
- postgreslq download : https://www.postgresql.org/
- pg admin download : https://postgresapp.com/
- nest.js typeorm : https://docs.nestjs.com/techniques/database#typeorm-integration
'Project using Nest.js > E-commerce App' 카테고리의 다른 글
login API on nestJS using graphql (0) 2021.09.02 nestJS entity (0) 2021.09.02 Graphql Configuration with nest.js (0) 2021.09.02 Config에 validation 설정하기 on nest.js with Joi (0) 2021.09.02 nest.js dotenv 설정 (0) 2021.09.02